How To Get macOS Font Rendering In Windows?
Tell me something - are you happy with how ClearType, the default font renderer in Windows does its job? If you are like me and have to look at your computer screen for the most part of your day, you might prefer something better.
Let me show you something really quick. This is how the fonts are rendered on my Windows machine:
MacType Font Rendering Example.
If you would like to achieve similar results for better font rendering and display optimization, there are only a couple of steps you have to do, and they don’t require any tweaking.
First, download and install a free program called MacType from here. Your browser may state that the file you are trying to download is unsafe. This is due to MacType changing the way your fonts look. The file does not contain any suspicious or harmful code.
After you download the file, double click it and follow the setup steps. At some point you will be presented with a few options to chose from: MacType Font Rendering Setup Example 1. MacType Font Rendering Setup Example 2.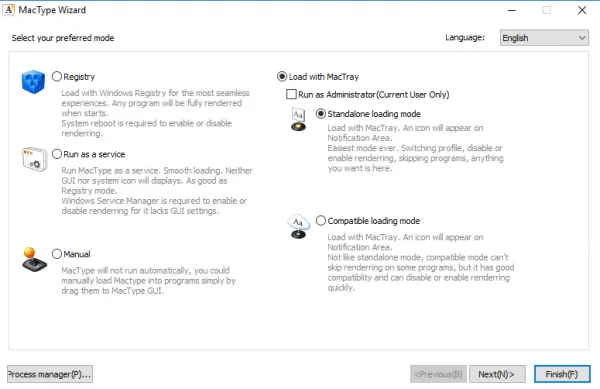
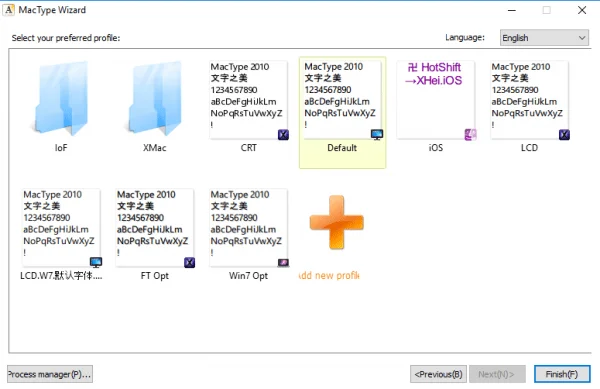
Chose your favorite startup method and the way you would like the fonts on the screen to be rendered, click Finish.
Don’t restart your computer just yet, there is one more little step we have to take to complete the font rendering transformation process on Windows, and that is install GDIPP, to make your Mac fonts even more beautiful. Visit GDIPP’s Google Code page and chose an installer for either 32 or 64 bit operating systems, depending on what architecture your system is using.
After installing GDIPP, restart your system and enjoy the beautiful macOS fonts in your Windows OS. Should you ever decide to get the old Windows font rendering back, just uninstall MacType and GDIPP like you would any other program on your PC.
Note: while I followed the same steps and everything is working fine for me, your mileage may vary. I am not to be held responsible should anything go wrong.
See a related article about fonts here.
Thank you for your time!
Related: Let’s Talk About Fonts (Part 1)